Affordable Self-Tanners: 7 Budget Options by Format
An affordable self-tanner should be easy to finish, not merely cheap enough to abandon after one orange ankle. This comparison uses current manufacturer formats and directions, then weighs cost per use, shade control, likely waste, and skin needs without pretending one bottle behaves identically on everyone.
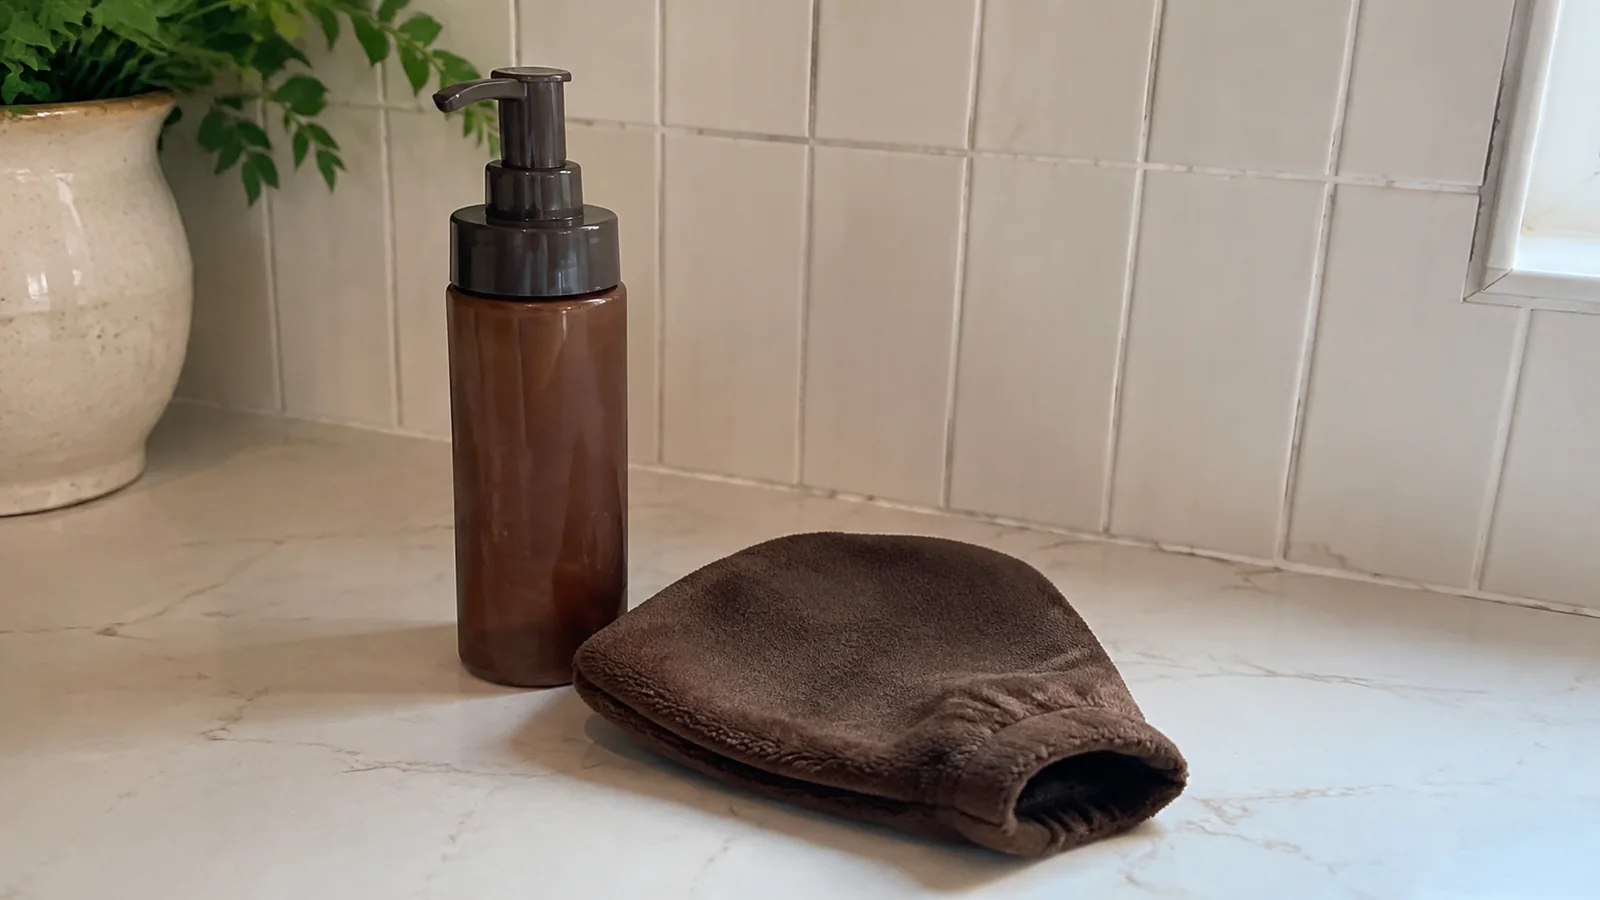
Start with what self-tanner can and cannot do
Most sunless tanners use dihydroxyacetone, or DHA, to darken the skin’s surface without ultraviolet exposure. The FDA permits DHA for external application, but not on the lips, eye area, mucous membranes, or through inhalation and ingestion.
A tan-looking result is not sun protection. Unless the label specifically includes sunscreen ingredients and an SPF, use a separate broad-spectrum sunscreen as directed and remember that swimming, sweating, and time still require attention.
Color is also personal: undertone, dryness, existing skin care, application amount, and development time can change the result. Treat shade names and “natural-looking” promises as starting points, because individual results vary.
Choose a format before choosing a bottle
- Gradual lotion: Lower-stakes color built through repeated applications, with moisturizer included.
- Wet-skin lotion: Applied after showering while skin is still wet, which can shorten the routine.
- Concentrated drops: Mixed into moisturizer, so the number of drops controls the dose.
- Tinted mousse: A guide color helps show where product has landed, but a mitt is usually needed.
- Express mousse: Rinsed after the manufacturer’s timed window, useful when an overnight process is inconvenient.
- Clear mousse or water: Less visible during application, which may reduce guide-color transfer but makes missed areas harder to spot.
For the lowest total cost, match the formula to the routine you will actually follow. A $12 lotion used to the last pump is better value than an $8 mousse plus a new mitt, stained sheet, and half a bottle of regret.
1. Jergens Natural Glow + Firming Daily Moisturizer
Best for: Beginners who want gradual body color and already use lotion daily. The current Jergens Natural Glow collection offers separate Fair to Medium and Medium to Deep options, letting shoppers choose a broad starting range rather than gamble on one universal shade.
Apply it like a body moisturizer according to the label, wash hands afterward, and give dry zones a lighter touch. The value is routine consolidation, while the tradeoff is repetition because gradual color takes several applications and needs maintenance.
2. Jergens Natural Glow Wet Skin Moisturizer
Best for: Shower-time minimalists who dislike adding another dry-skin step. This gradual lotion is designed for wet skin after showering, so using it on dry skin would ignore the very feature you paid for.
Follow the bottle’s amount, drying, and hand-washing directions rather than copying a regular lotion routine. It is a practical budget choice if speed drives consistency, but you still need time to apply it evenly and dry safely.
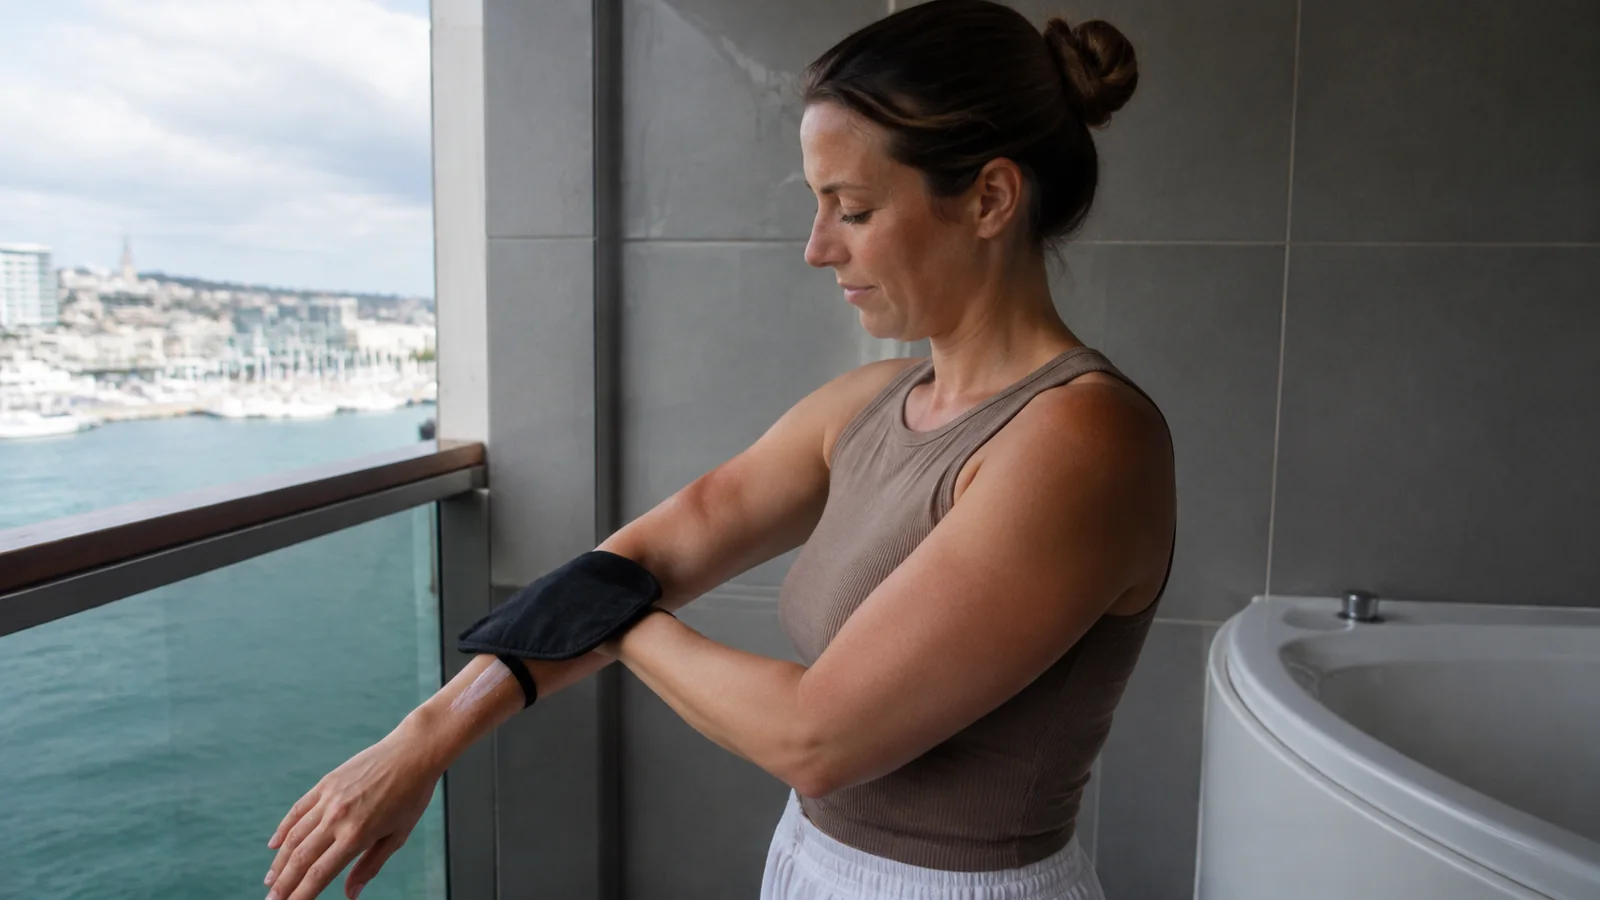
3. Jergens Natural Glow Instant Sun Drops
Best for: Travelers and shoppers who want to turn an existing moisturizer into a customizable tanner. Jergens says more drops produce more color, making the product easier to adjust than a fixed-shade lotion.
Mix thoroughly in your palm and keep the moisturizer-to-drop ratio consistent by body section. Drops can stretch across many uses, but the bargain disappears if measuring becomes guesswork and you use different amounts on each leg.
4. Tanologist Self Tan Drops
Best for: Someone who wants one concentrated format labeled for face and body. The current Tanologist drop directions offer multiple shade levels and instruct users to mix the drops with moisturizer, starting with a small amount and increasing for deeper color.
The clear formula has no guide color, so careful blending matters because you cannot see every overlap. It can be economical for face use because each application needs little product, although a dedicated face moisturizer remains part of the true cost.
5. Tanologist Hydrating Daily Glow Gradual Self Tan Lotion
Best for: A no-mitt routine that builds rather than announces color overnight. A gradual lotion offers the simplest learning curve in this group and can double as the moisturizing step for body skin when the ingredients suit you.
Choose the labeled shade, apply evenly, and wash palms and between fingers after use. The tradeoff is patience, but small corrections are usually easier when the color arrives in installments instead of developing a deep shade in one application.
6. St. Moriz Professional 1 Hour Fast Tanning Mousse
Best for: A timed rinse and a visible guide color. The St. Moriz 1 Hour Fast Mousse instructions tell users to apply with a mitt, leave the mousse for the selected development window, then rinse according to the label.
Add the cost of a reusable mitt and the time needed to prep, apply, wait, and shower again. An express product is value when it prevents an overnight mess, not when you cannot fit the rinse into your evening.
7. Bondi Sands Self Tanning Foam Dark
Best for: Shoppers who prefer a larger, traditional body foam with guide color and clear manufacturer tutorials. The Bondi Sands U.S. self-tan line sells several shade and timing options, so compare the standard foam with express versions before paying for speed you do not need.
Bondi Sands sits above many drugstore lotions in bottle price, which means it earns a place only if the size, application style, and expected number of full-body uses work for you. Calculate cost per fluid ounce and include the mitt instead of calling every mousse “affordable” because it appears at a mass retailer.
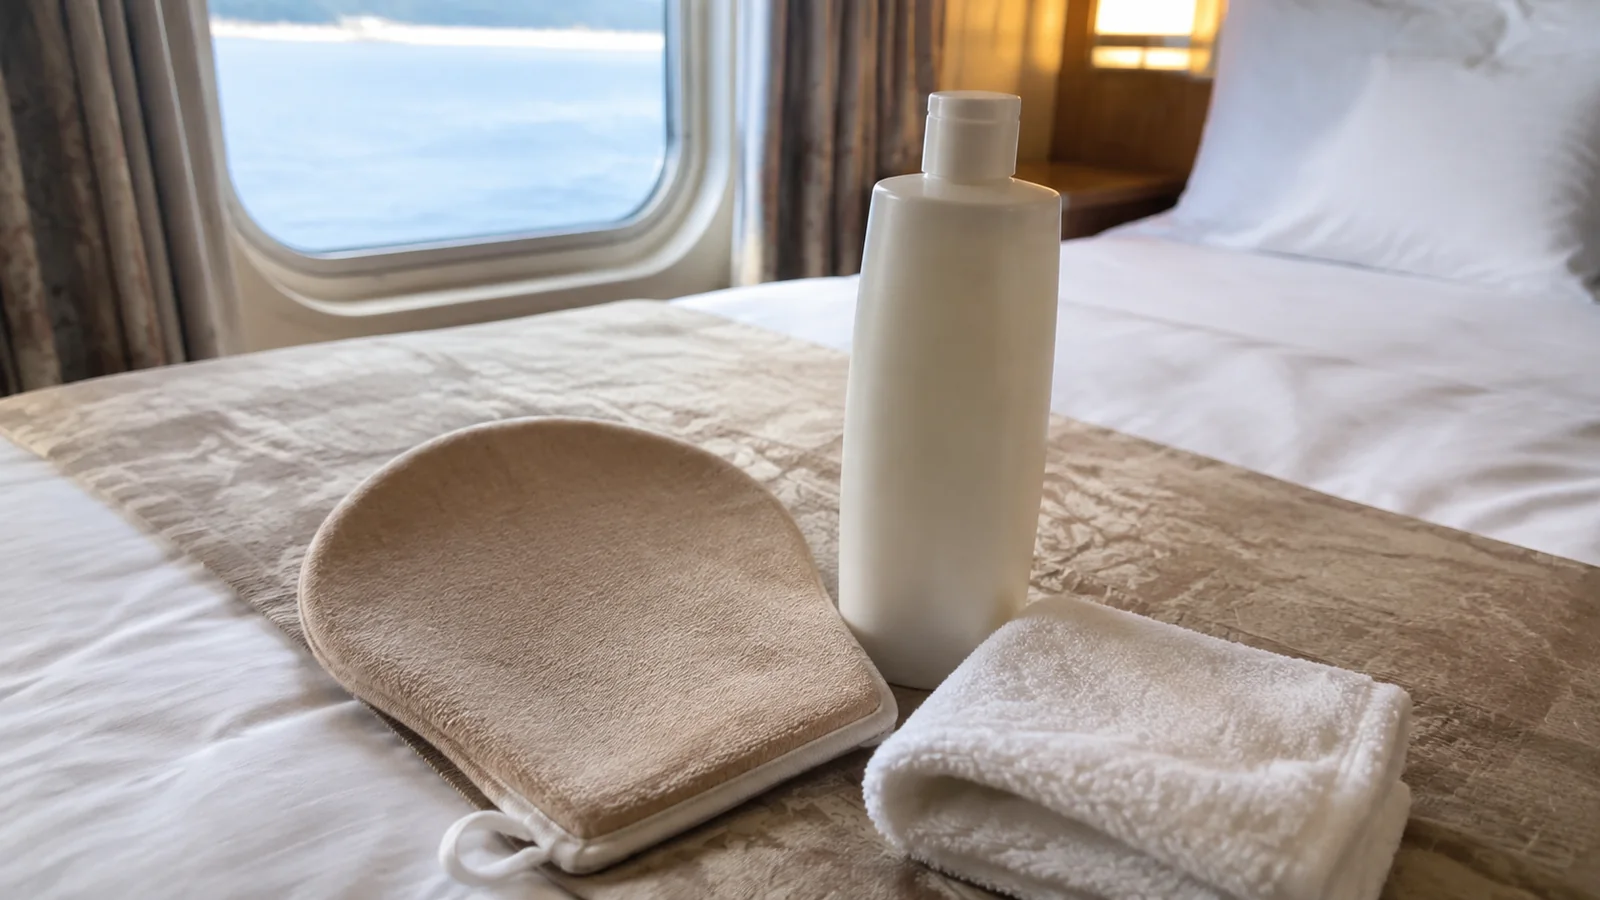
Seven exact bottles, prices, and rinse plans
These U.S. manufacturer list prices exclude tax, shipping, and any separate mitt, and do not reflect discounts. I would compare these exact sizes and versions because an express foam, gradual lotion, and concentrated drops are not interchangeable products.
- Exact product: Jergens Natural Glow + Firming Daily Moisturizer, Fair to Medium
- Size and listed price: 7.5 oz; $10.99
- Where and how to use it: Body; leave on and use daily to build color over several applications
- Main tradeoff: Low upfront cost, but repeated application
- Exact product: Jergens Natural Glow Wet Skin Moisturizer
- Size and listed price: 7.5 oz; $10.99
- Where and how to use it: Body; apply to wet skin after showering, do not rinse, then pat dry
- Main tradeoff: Quick shower routine, but requires the wet-skin method
- Exact product: Jergens Natural Glow Instant Sun Drops
- Size and listed price: 1 oz; $13.99
- Where and how to use it: Face and body moisturizer mixer; leave on according to the bottle, never apply concentrated drops directly
- Main tradeoff: Compact, but moisturizer and careful dosing add to the cost
- Exact product: Tanologist Self Tan Drops
- Size and listed price: 30 mL / 1.01 fl oz; $19.99
- Where and how to use it: Face and body; mix with moisturizer, starting with three drops and never exceeding 12 per the current directions
- Main tradeoff: Clear application makes missed patches harder to see
- Exact product: Tanologist Hydrating Daily Glow Gradual Self Tan Lotion, Light/Medium
- Size and listed price: 250 mL / 8.45 fl oz; $12.99
- Where and how to use it: Body; leave-on daily moisturizer with gradually building color
- Main tradeoff: More product for the price, but no instant deep tan
- Exact product: St. Moriz Professional 1 Hour Fast Self Tanning Mousse
- Size and listed price: 200 mL / about 6.76 fl oz; $13.99
- Where and how to use it: Body mousse with mitt; brand describes one hour for light, two for medium, three for deeper color, then rinse the guide color as your bottle directs
- Main tradeoff: Useful timing control, but needs a mitt and a planned rinse
- Exact product: Bondi Sands Self Tanning Foam Dark
- Size and listed price: 200 mL / 6.76 fl oz; $30
- Where and how to use it: Body foam with mitt; current directions specify six to eight hours, then warm-water shower without soap
- Main tradeoff: Highest bottle price here and a longer development window
The Tanologist drops and gradual lotion are leave-on choices, so I would use them on an evening without an immediate swim or shower and follow the package’s development instructions. For the Jergens drops, keep the bottle’s mixing ratio with the product instead of assuming another brand’s drop count applies.
St. Moriz’s page also says development can continue up to eight hours, which is why I would read the actual bottle before scheduling the rinse. Bondi Sands’ Dark foam is the standard version here, and its six-to-eight-hour directions differ from the brand’s express products.
Among the larger body products, Jergens costs about $1.47 per ounce, the Tanologist lotion $1.54, St. Moriz $2.07, and Bondi Sands $4.44 at these listed prices. Drops need much smaller doses, so their price per ounce does not prove that they cost more per face application.
I would start with Jergens gradual lotion for a first body tan, choose Tanologist drops for someone who already enjoys measuring skincare, and pick St. Moriz when a timed rinse suits the evening. At $30, Bondi Sands earns its place as a higher-cost comparison for someone who specifically prefers that foam, rather than my default budget buy.
How to compare value without trusting the shelf tag
Divide price by fluid ounces first, then estimate how much of the product your routine uses. Face drops may look expensive per ounce but require tiny doses, while a body mousse can empty quickly when several people share it before a trip.
- Include a mitt, back applicator, exfoliating product, moisturizer, and replacement cost.
- Check whether the formula replaces a lotion you already buy or adds a separate step.
- Compare return policies for unopened cosmetics, since opened beauty products may be excluded.
- Prefer a smaller bottle for a first attempt if a jumbo size may expire unfinished.
- Look at the full ingredient list if fragrance or another ingredient has bothered you before.
Do not use ratings as proof that a shade will suit your skin. Reviews can reveal recurring packaging issues or confusing directions, but photographs, lighting, editing, preparation, and skin tone make color claims difficult to compare.
A careful application plan
Read the product label first because prep and development times vary. If the manufacturer directs a patch test, do it within the stated time frame, and stop using the product if irritation develops and seek advice if the reaction persists.
- Exfoliate gently in advance when directed, concentrating on rough knees, elbows, ankles, and knuckles.
- Shave or wax early enough to follow the product’s instructions instead of doing it immediately before application.
- Start with clean skin that is dry or wet exactly as the chosen formula requires.
- Use a little plain moisturizer on dry areas if the label or brand instructions recommend it.
- Work in sections, blending edges and using less product on hands, feet, elbows, and knees.
- Wash palms, between fingers, and around nails after lotions or drops, or use a clean mitt for mousse.
- Let the product dry and avoid water, sweat, tight clothing, or showering for the labeled period.
Keep DHA products away from lips and the eye area, and do not inhale a mist or improvise a room spray from a liquid formula. FDA specifically notes that avoiding these exposure routes is straightforward with retail creams and lotions used as intended.
Using self-tanner on the face
Choose a product labeled for facial use or for both face and body, then follow its mixing and placement directions. A body product’s price does not make it a sensible face product if the label says otherwise.
Blend lightly toward the hairline and around facial hair, avoiding the FDA-defined eye area and lips. If you use retinoids, exfoliating acids, prescription products, or have a skin condition, ask a qualified clinician how to fit self-tanner into that routine rather than relying on a brand’s blanket compatibility claim.
How to handle streaks and dark patches
First, wait for the full development time because guide color and final color may not match. Normal washing and gentle exfoliation can help an uneven area fade, while hard scrubbing may trade a color problem for irritated skin.
For a pale gap, add a very small amount of gradual product and feather the edges after the surrounding color is clear. Skip viral removal mixtures involving harsh household ingredients, especially on the face or already irritated skin.
Pack self-tanner without sacrificing the wardrobe
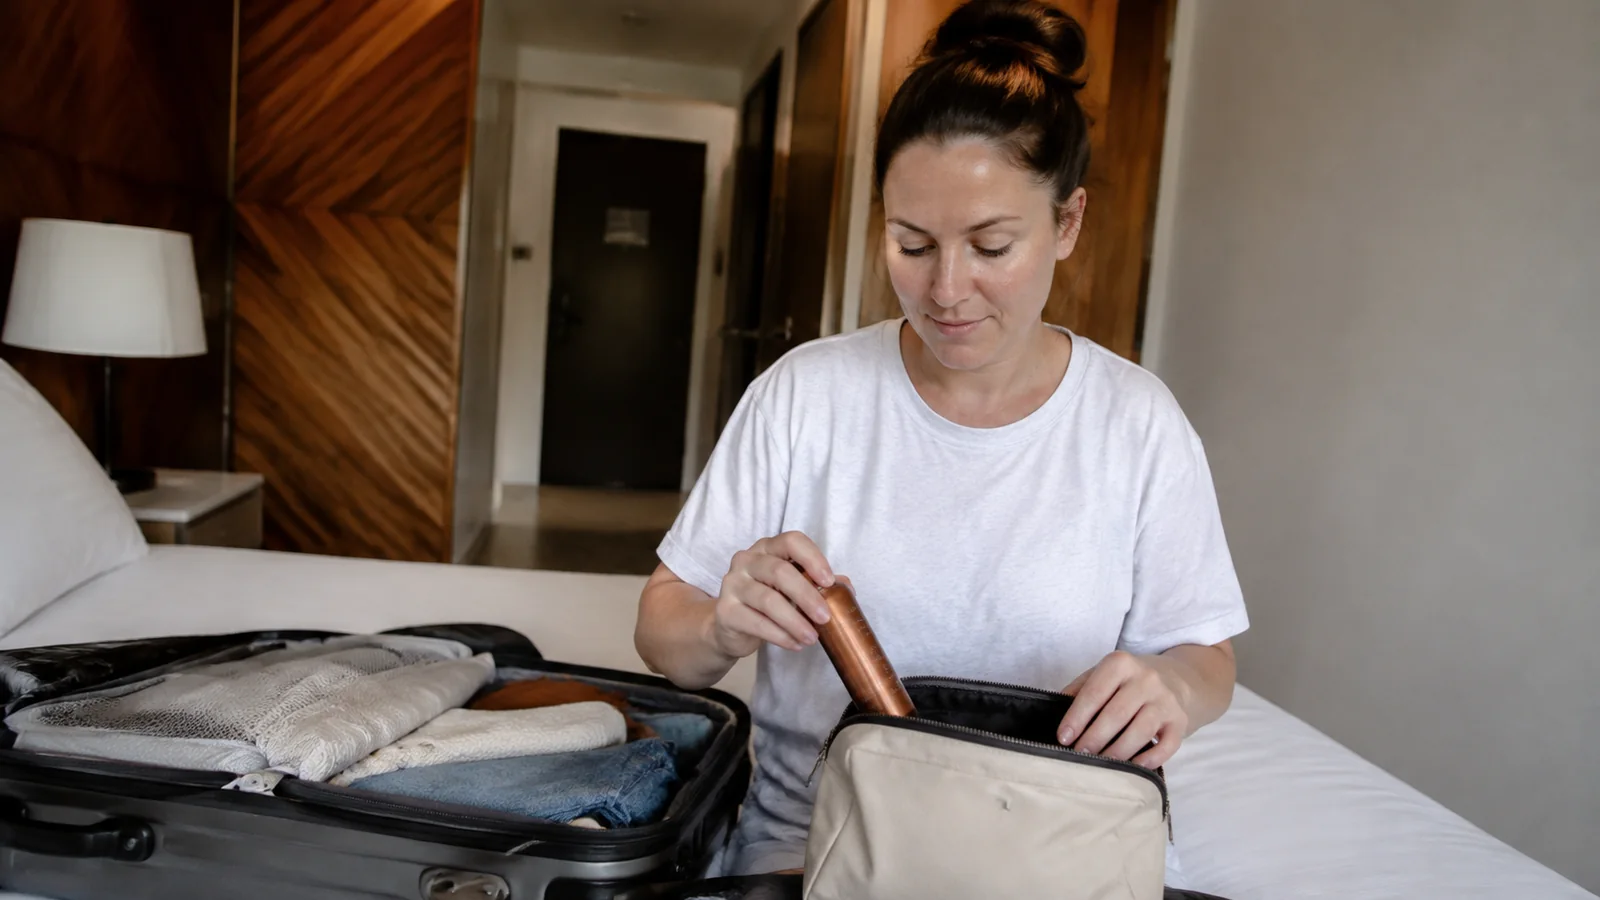
Applying one or two days before departure keeps development time, rinsing, and potential transfer out of a cramped hotel bathroom. If you bring it, seal the cap, place the bottle upright in a leak-resistant toiletry bag, and keep the label so instructions travel too.
Build the rest of the toiletry kit from the practical items in these travel essentials for women, then trim duplicates. Cruise travelers can cross-check both the cruise packing list and cruise essentials before dedicating precious cabin space to three tanning formats.
Pack sunscreen separately because most self-tanners provide no UV protection. Keep the product out of excessive heat and direct sunlight, and follow the package’s storage and expiration guidance rather than trusting a bottle that has lived in a beach bag for longer than the label allows.
Questions shoppers ask
What is the easiest affordable self-tanner for beginners?
A gradual body lotion offers the most forgiving way to learn because color builds over repeated uses and no mitt is required. Choose the labeled shade range, use less on dry joints, and let the result develop before adding more.
Are self-tanning drops cheaper than lotion?
For the face, they can be economical because each use needs only a few drops mixed with moisturizer. For the entire body, compare the bottle’s directions and likely doses because a full-size gradual lotion may cost less per application.
Does self-tanner replace sunscreen?
No, not unless the product is specifically labeled with sunscreen ingredients and an SPF, and even then the sunscreen directions still apply. The FDA requires sunless tanning products without sunscreen to warn that they do not protect against sunburn.
Can I use self-tanner while pregnant?
Pregnancy is a reason to ask an obstetric clinician about your exact product and application method, especially sprays that could be inhaled. A manufacturer claim or beauty article should not replace individualized medical guidance.
How long will the color last?
There is no reliable universal number because formula, dose, skin turnover, washing, swimming, exfoliation, and maintenance differ. Use the brand’s development and reapplication directions, then adjust only after seeing the finished result on your skin.
The practical pick
Choose gradual lotion for control, drops for a compact customizable routine, guide-color mousse for visible coverage, or express mousse for a scheduled rinse. The best affordable self-tanner is the one whose full cost, instructions, shade range, and time demand fit your actual week.
Whatever the bottle promises, keep DHA out of restricted areas, stop if irritation occurs, and wear sunscreen. A believable glow is nice, but healthy decision-making looks good in every undertone.