How to Display Travel Souvenirs Without Clutter
Travel souvenirs should make your home feel more like your story, not like an airport gift shop exploded in the living room. The trick is to edit hard, group pieces with purpose, protect fragile memories, and leave enough empty space for every object to be noticed.
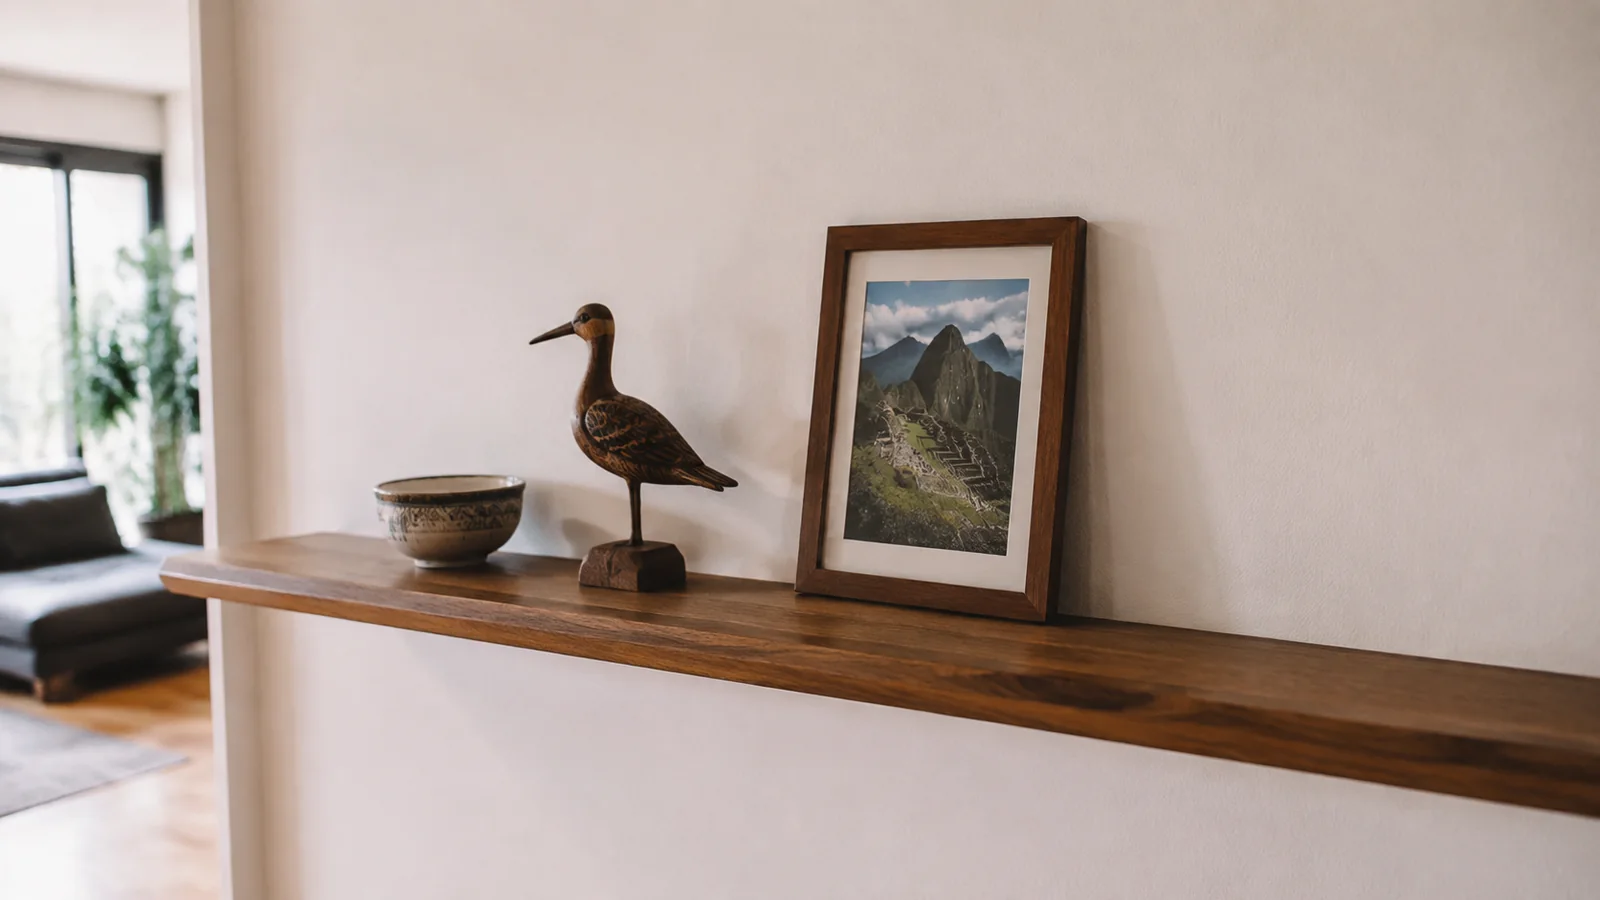
Start With the Story, Not the Stuff
Before buying shelves or frames, decide what you want the display to say. One destination, one color family, one type of object, or one chapter of your life gives a collection a reason to sit together.
Spread every candidate on a table and choose the few pieces that immediately bring back a person, place, meal, or moment. If an object only proves you visited, a photo or journal note may tell the story better and take up less room.
Ellie’s approach to more mindful travel is useful here because intentional purchases tend to age better than rushed terminal souvenirs. Meaning beats volume every time.
Use the One-Anchor Rule
Give each display one visual anchor, such as a framed textile, large photograph, map, carved object, or ceramic bowl. Smaller pieces should support that anchor rather than compete with six other stars.
A good starting arrangement uses one large item, two medium pieces, and a few small accents with breathing room between them. You can always add one object later, while editing an overcrowded shelf gets emotionally harder.
Repeat one element to make unlike souvenirs feel related. Matching frames, similar label cards, a consistent wood tone, or a restrained background color can unify objects from completely different countries.
Choose the Right Display for Each Souvenir
Shadow Boxes for Small, Flat Memories
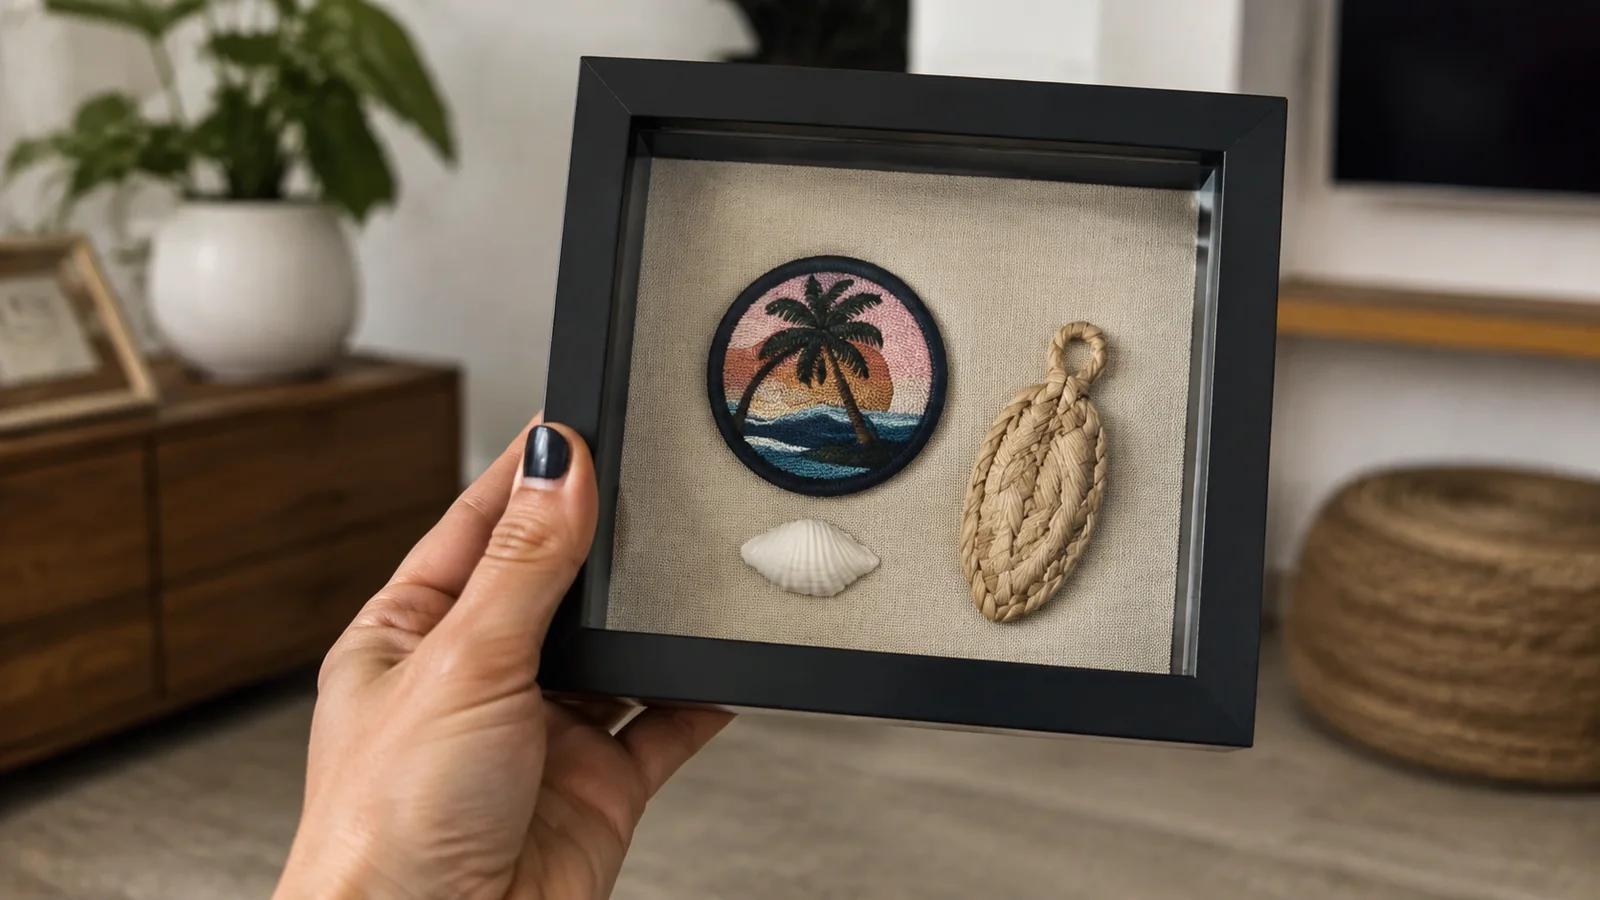
Shadow boxes work beautifully for transit cards, ticket stubs, patches, postcards, pressed paper, small coins, and a short caption. Build one box around a single trip or theme rather than layering every scrap you saved.
Use photo corners, archival sleeves, or reversible mounts when the item matters, and never glue an irreplaceable document because a craft tutorial made it look easy. Make a color copy for display if the original is delicate.
Picture Ledges for Flexible Collections
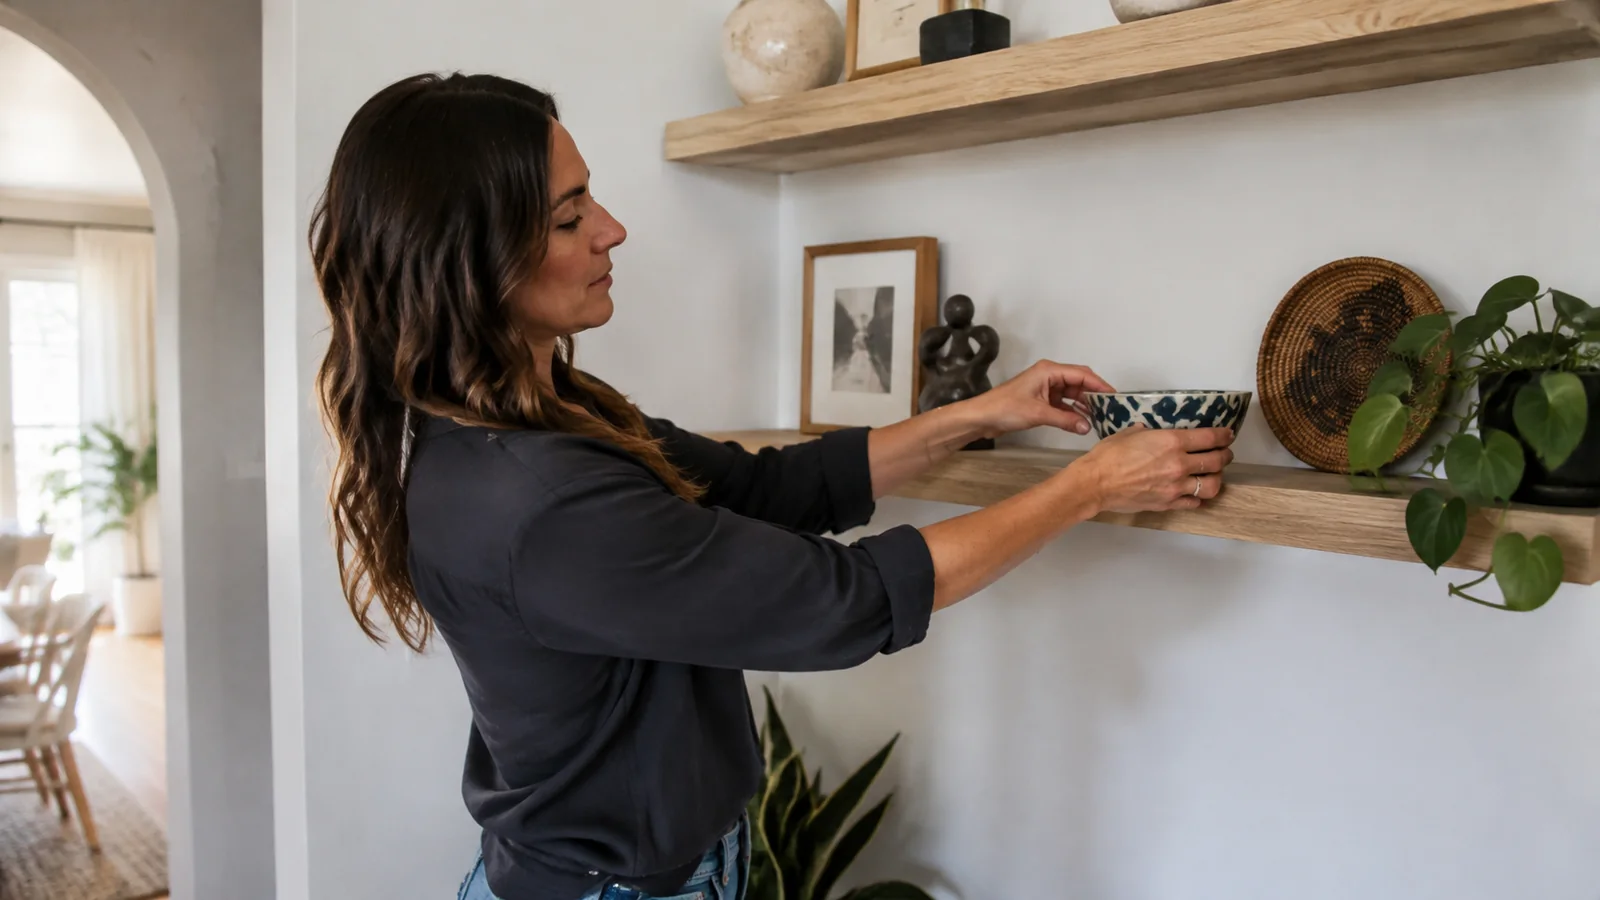
A picture ledge lets framed photos, maps, postcards, and shallow objects overlap without committing to a grid of nail holes. It is especially kind to renters and people who enjoy changing the display seasonally.
Keep the tallest piece toward the back and avoid stacking so deeply that objects can slide when one frame moves. Follow the ledge manufacturer’s weight, fastener, and wall-material instructions.
Closed Cabinets for Fragile Objects
Glass-front cabinets slow dust and discourage casual handling, which helps with ceramics, carvings, shells, and small sculptures. They do not remove the need for stable shelves, secure placement, and sensible light.
Put heavier pieces low and use museum putty only when it is compatible with both object and surface. The Consumer Product Safety Commission recommends securing furniture with shelves to the wall to reduce tip-over danger, especially around children, so check its Anchor It guidance before styling a tall cabinet.
Frames for Textiles, Maps, and Works on Paper
A scarf, small weaving, paper-cut artwork, or illustrated map can become the room’s anchor when framed well. Ask a professional framer about reversible attachment, spacers, backing, and glazing for anything valuable or culturally significant.
Do not trim, tape, or stretch an irreplaceable textile merely to fit a standard frame. A reproduction can carry the visual job while the original rests safely in storage.
Build a Travel Photo Wall That Feels Personal
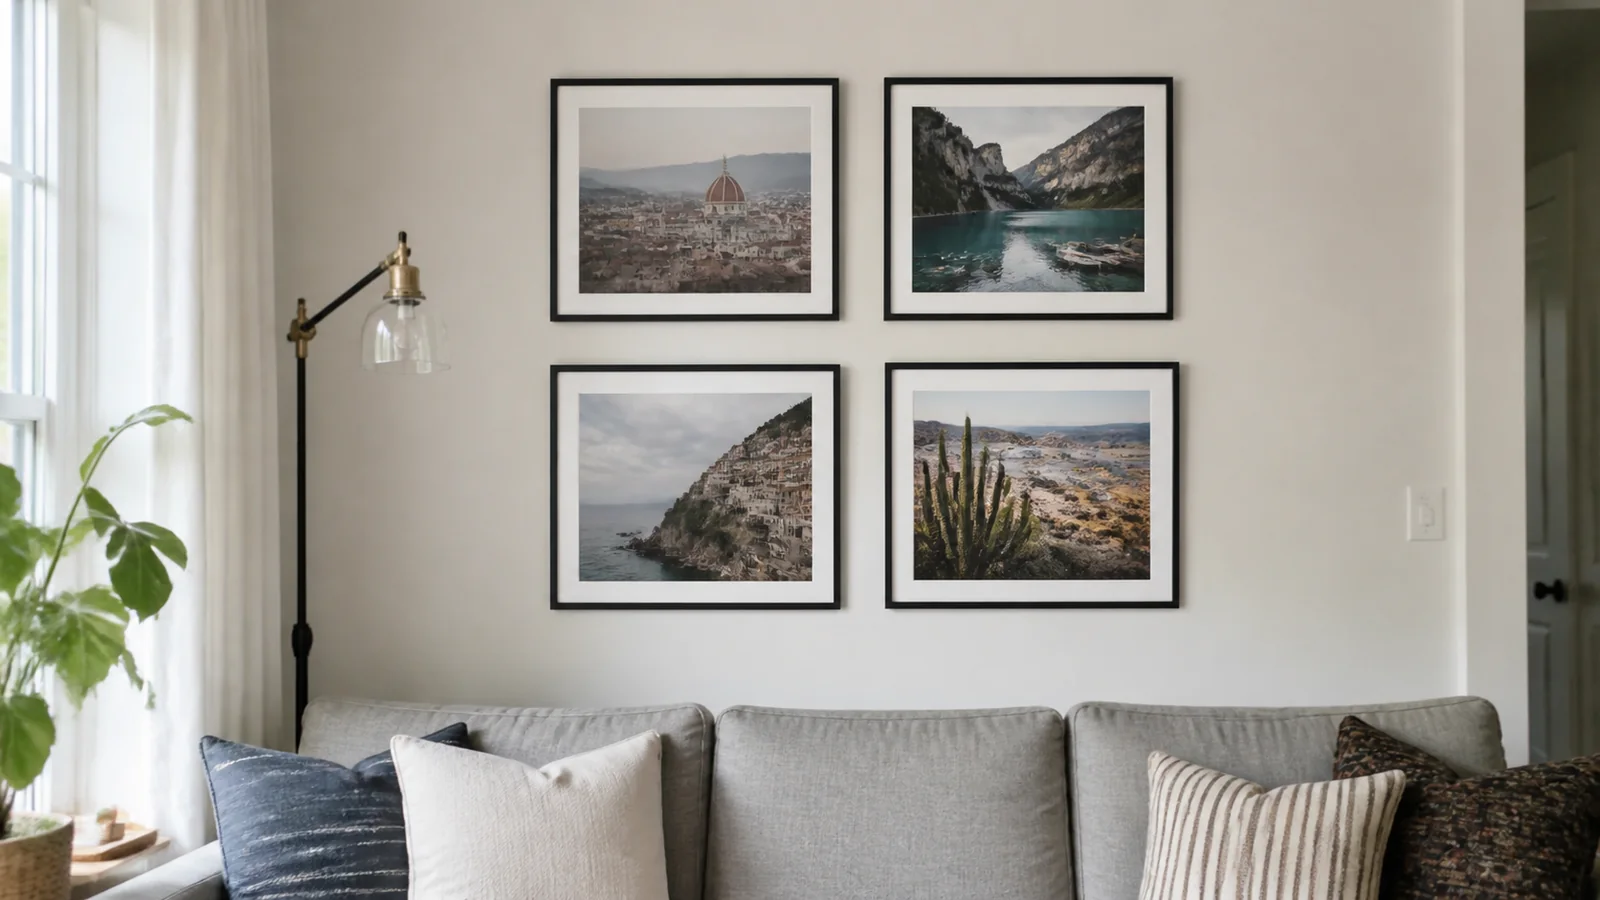
Select photographs for contrast and story, not only perfect sunsets. A wide landscape, a street detail, a person with permission, a meal, and one funny logistical moment create a fuller memory than ten nearly identical viewpoints.
Print a small test set before ordering oversized pieces because phone brightness can hide dark shadows and color shifts. Use a paper template to arrange the wall, then confirm sight lines from where people actually sit.
Write the location, year, and a sentence about the moment on the back or in a separate inventory. That context matters, and the National Park Service notes that documenting the who, what, when, where, and why helps objects retain their historical value in its museum collection guidance.
For a lighter option, print one small annual travel album and display only the current favorite image. Digital frames can rotate more photographs, but keep the originals backed up somewhere other than the device.
Protect Souvenirs From Light, Moisture, and Damage
Sunlight is not flattering to most keepsakes over the long term. Paper, photographs, dyes, leather, and textiles can fade or weaken, so do not hang favorites in a bright window just because the wall is empty.
The Smithsonian’s conservation guidance explains that intense light and ultraviolet exposure can harm natural fibers, while very low humidity can make them brittle. Its textile storage advice is written for collections, but the home lesson is simple: avoid sun, damp rooms, heat vents, and wild environmental swings.
Kitchens and bathrooms are rough display zones for paper, untreated wood, metal, textiles, and porous ceramics because humidity, grease, and temperature fluctuate. Use washable reproductions there and keep the original somewhere calmer.
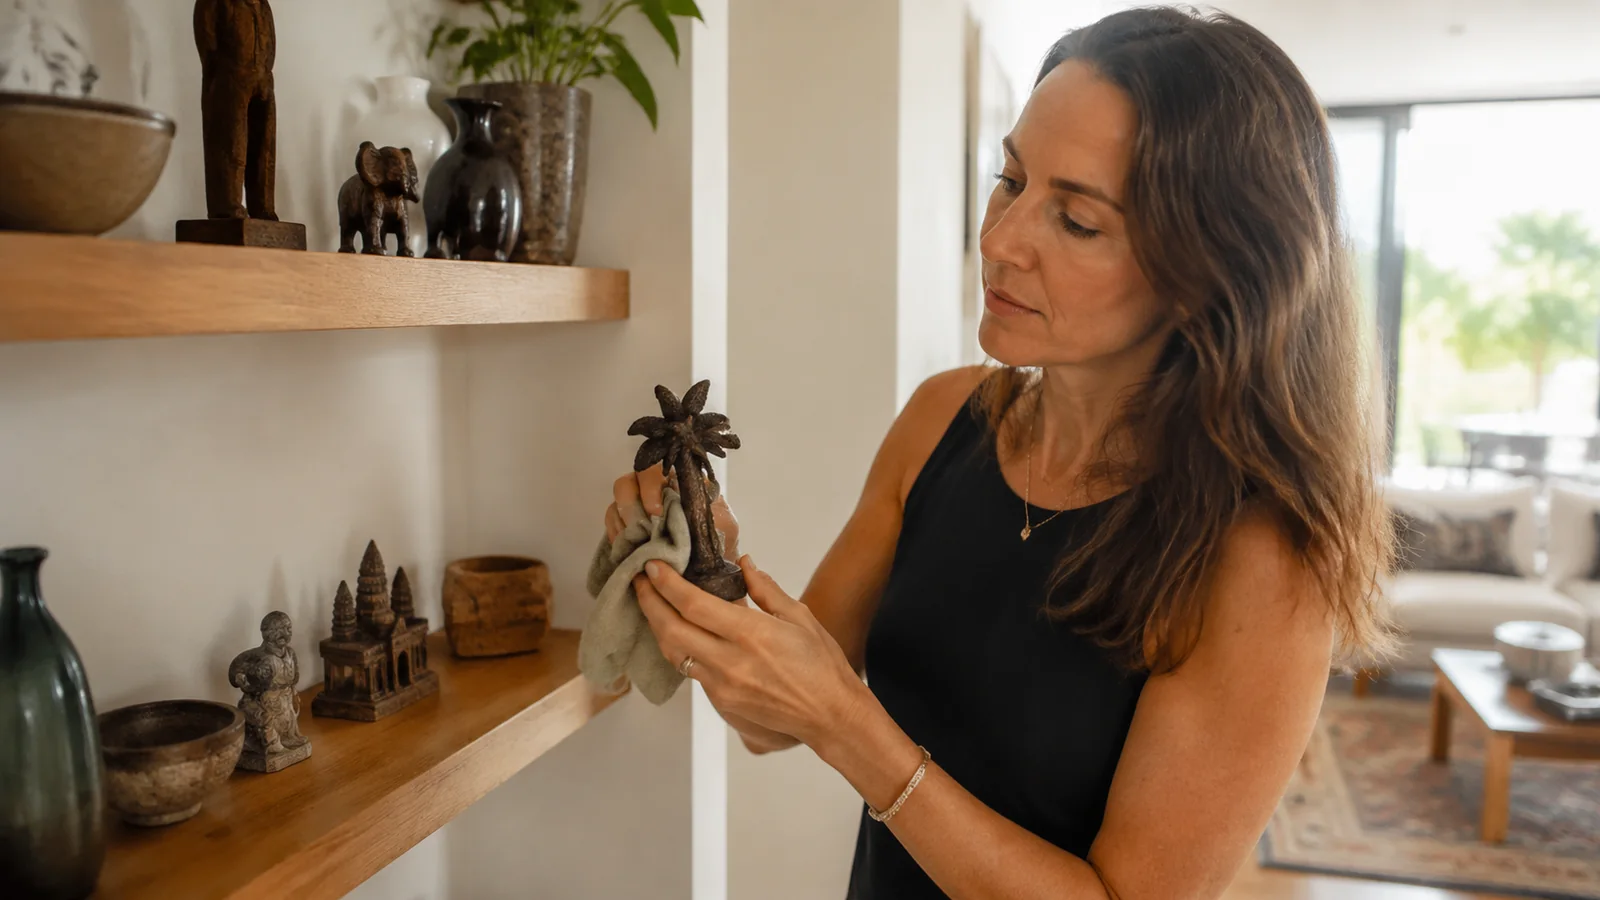
Dust with a method appropriate to the material, not one universal spray. If an object flakes, smells musty, feels unstable, contains unknown pigment, or may be genuinely old, stop cleaning and ask a conservator.
Display Ideas for Common Travel Keepsakes
- Postcards: Frame a rotating set or scan them into an album, keeping writing visible through a double-sided sleeve.
- Tickets and paper scraps: Use one trip shadow box with a typed caption and a copied itinerary.
- Maps: Mark routes on a replaceable print, not a valuable antique or borrowed park map.
- Magnets: Mount a painted steel panel inside an entryway, office, or pantry instead of covering every appliance.
- Mugs: Keep only the ones you use, then group them on a sturdy kitchen shelf with weight in mind.
- Textiles: Frame, drape, or rotate them away from direct sun, checking periodically for pests or stress.
- Shells and stones: Display only items legally and responsibly collected, with a label explaining the place.
- Ornaments: Hang a small year-round branch display or enjoy one concentrated holiday rotation.
- Currency: Save modest examples in archival sleeves and never assume old or rare notes are safe to glue.
- Recipes and menus: Create a kitchen binder and cook from it, using copies if the original is fragile.
If you cruise, compact keepsakes and useful gifts are easier to live with than another bulky logo item. Ellie’s cruise gift ideas include practical options that can inspire a more selective shopping list.
Create One Travel Zone Instead of Decorating Every Room
A travel zone can be a hallway ledge, office bookcase, stair landing, entry console, or one section of a media cabinet. Keeping the collection concentrated gives it impact and prevents unrelated pieces from becoming background noise throughout the house.
Choose a zone by object needs, not merely available space. A low hallway shelf may be bumped, a sunny stairwell may fade paper, and a humid basement can damage natural materials.
Small homes benefit from vertical displays and useful souvenirs. A framed cloth, serving bowl, book, basket, or tray can earn its space through both memory and function.
Rotate the Collection
You do not need to display everything at once to honor it. Rotate by season, destination, color, anniversary, or upcoming trip, keeping the active collection small enough to clean comfortably.
Photograph each arrangement before changing it and maintain a simple inventory of what is stored where. This makes rotation feel like rediscovery instead of a scavenger hunt through unlabeled boxes.
Wrap and support stored objects with materials suited to their surfaces, then use lidded containers in a dry, stable place. Label the outside broadly, but put personal value and insurance details in a private record rather than advertising them on a garage shelf.
Give Children Their Own Travel Display
A child’s shelf can hold a photo, map, drawing, safe souvenir, and one sentence about the trip. Keeping it at an appropriate height lets the child participate, but mount furniture securely and avoid breakable, sharp, choking, magnetic, or lead-risk objects.
Invite children to choose what stays visible and what goes into a memory box. That turns editing into storytelling instead of teaching that every vacation requires more possessions.
Buy Future Souvenirs With the Display in Mind
Measure your available space and set a souvenir rule before leaving, such as one small handmade object, one local food used during the trip, or one print per destination. The rule protects both luggage space and the story you want your home to tell.
Ask who made an item, what material it uses, and whether it can legally leave the country and enter the United States. Customs and Border Protection warns that prohibited goods cannot enter even when purchased or received as gifts, and its restricted-items page covers wildlife products, plants, food, cultural property, and other categories.
Keep receipts and provenance information for art, antiques, wildlife materials, and higher-value purchases. Never remove artifacts, stones, plants, sand, or cultural material from protected or archaeological places.
Leave deliberate luggage room and protect fragile items inside the bag rather than checking an improvised shopping sack. Ellie’s cruise packing checklist is a useful prompt to plan that space before embarkation.
A One-Afternoon Display Plan
- Gather souvenirs from one room or one trip.
- Choose an anchor and no more than six supporting pieces.
- Measure the wall, ledge, shelf, and largest object.
- Check light, moisture, reach, weight, and tip-over risks.
- Mock up the arrangement on the floor or with paper templates.
- Install with hardware rated for the wall and load.
- Add a discreet destination and date label.
- Store, donate, repurpose, or photograph everything left.
Do not force sentimental decisions when you are tired. Make a small “decide later” box with a review date, then let the finished display prove how good editing can feel.
My Final Rule for Showing Off Your Travels
A successful travel display starts conversations without requiring the room to shout. Give the best objects space, protect what is fragile, write down the stories, and rotate the rest.
Your home does not need evidence from every destination. It needs a few honest reminders of the places and people that changed how you see the world.